
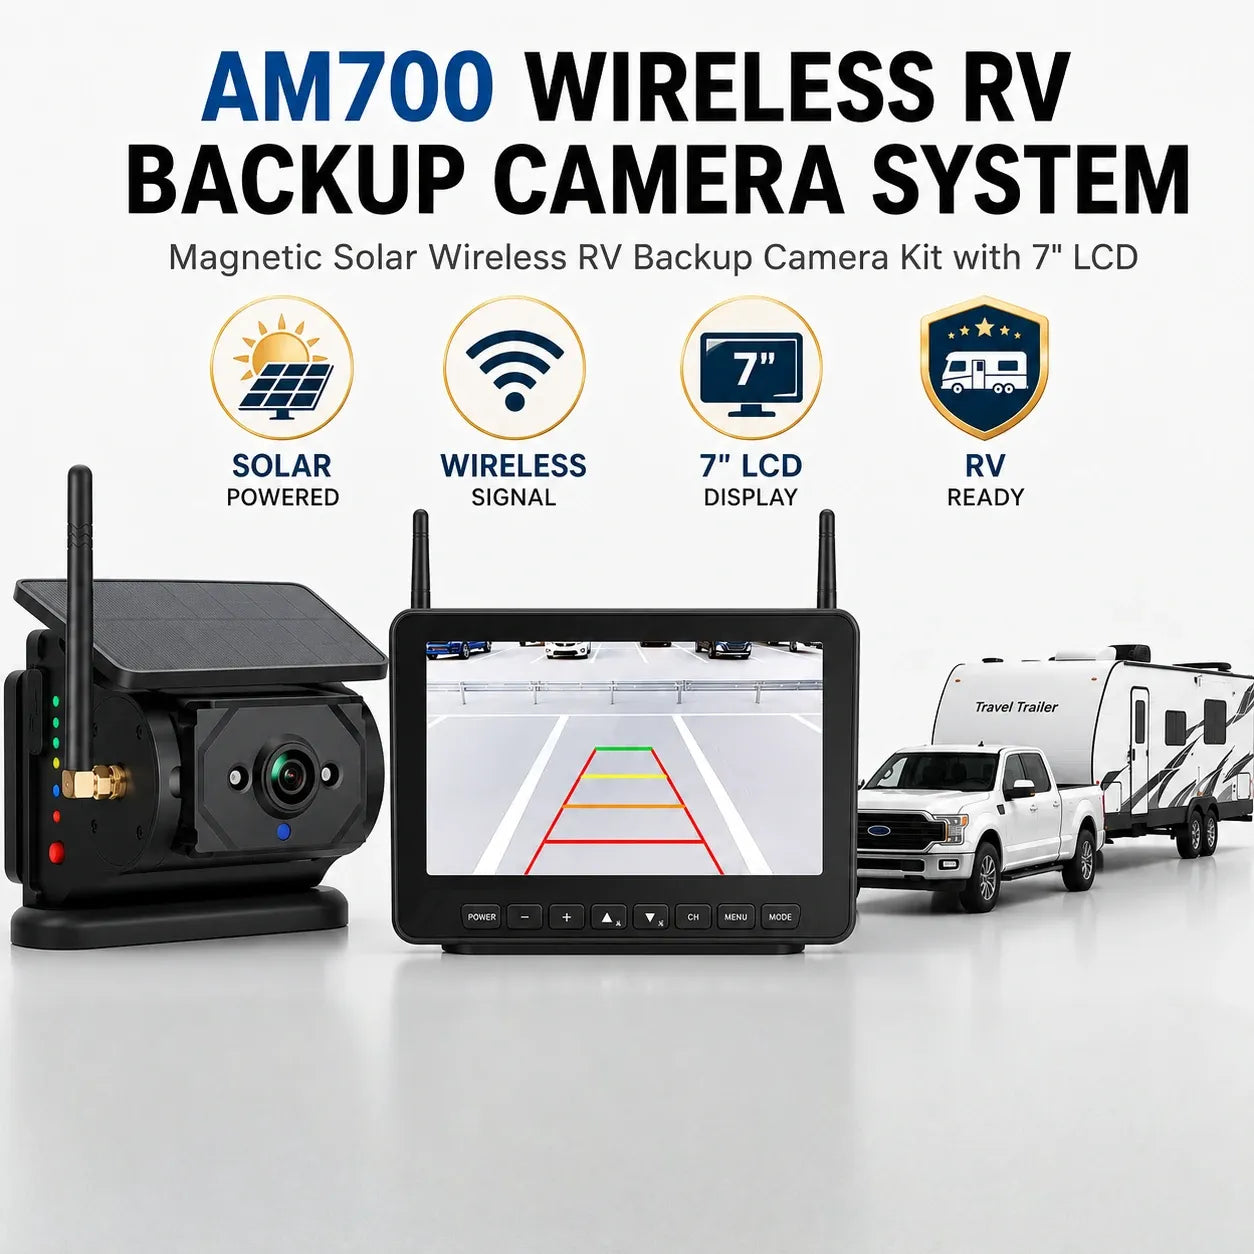
A backup camera can make campsite positioning calmer and improve awareness around a long RV, but specifications only help when they match the real installation. Trailer length, camera height, tow-vehicle construction and display placement all influence the experience.
Start with the job the camera must do
Some owners need a camera only for slow-speed backing. Others want a continuous rear view while towing. Decide which role matters because it affects power, viewing angle, runtime and where the monitor should sit.
NHTSA’s driver-assistance overview explains the core benefit: a rear-view image helps the driver see the area behind the vehicle while reversing. It is an aid, not a substitute for mirrors, a spotter or a direct walk-around.
Five specifications that matter in the real world
- Wireless range: Look beyond the trailer length. The signal must pass through the RV and tow-vehicle environment.
- Monitor size: A larger screen can show detail more clearly, but it must not block the driver’s view.
- Viewing angle: Wide coverage helps around corners; excessive distortion can make distance harder to judge.
- Low-light performance: Campsites are often entered near dusk, so useful night visibility matters.
- Mount and power: Compare permanent wiring, prewired connections, rechargeable batteries and solar assistance.
Magnetic vs. permanent mounting
Magnetic cameras are fast to position and can move between compatible vehicles. They suit occasional towing and owners who do not want to drill. Permanent mounts are harder to remove and can integrate neatly with existing power. Always confirm the mounting surface, safety tether requirements and local rules.
Placement and testing
- Temporarily place the camera and verify the view before final attachment.
- Keep the lens clear of trim, spare tires and ladder rails.
- Route or secure any cables away from sharp edges and moving parts.
- Test signal and image delay with the engine running and other electronics on.
- Practice in an open area to learn how screen distance relates to actual distance.
The best system is the one you test
A clear screen and strong specification sheet are only the starting point. Verify the exact combination of trailer, tow vehicle, mounting height and travel electronics before relying on the system in a tight campground.
Browse AOMOSUR Backup Camera Systems.